Original Post Author: Don C. Weber [Twitter: @cutaway]
Original Date Published: 03 June 2013
Black Hat USA 2013 will include a presentation by Tom Ritter and Doug DePerry titled: “I Can Hear You Now: Traffic Interception and Remote Mobile Phone Cloning with a Compromised CDMA Femtocell.” This should be a very interesting talk and I cannot wait to watch the video. Recently, Jay Radcliffe (@jradcliffe02) and I had the same “Femtocell Interception” idea for a recent assessment involving devices that leverage a cellular back-haul for connectivity to field devices. We figured that with some work we could monitor the network traffic flowing through the Femtocell device and potentially even act as one of the devices on the cellular network. Our primary goal would be to validate network security such as a Virtual Private Network (VPN) connection or, in the absence of one, to determine if we could intercept and potentially inject our own data onto this network.
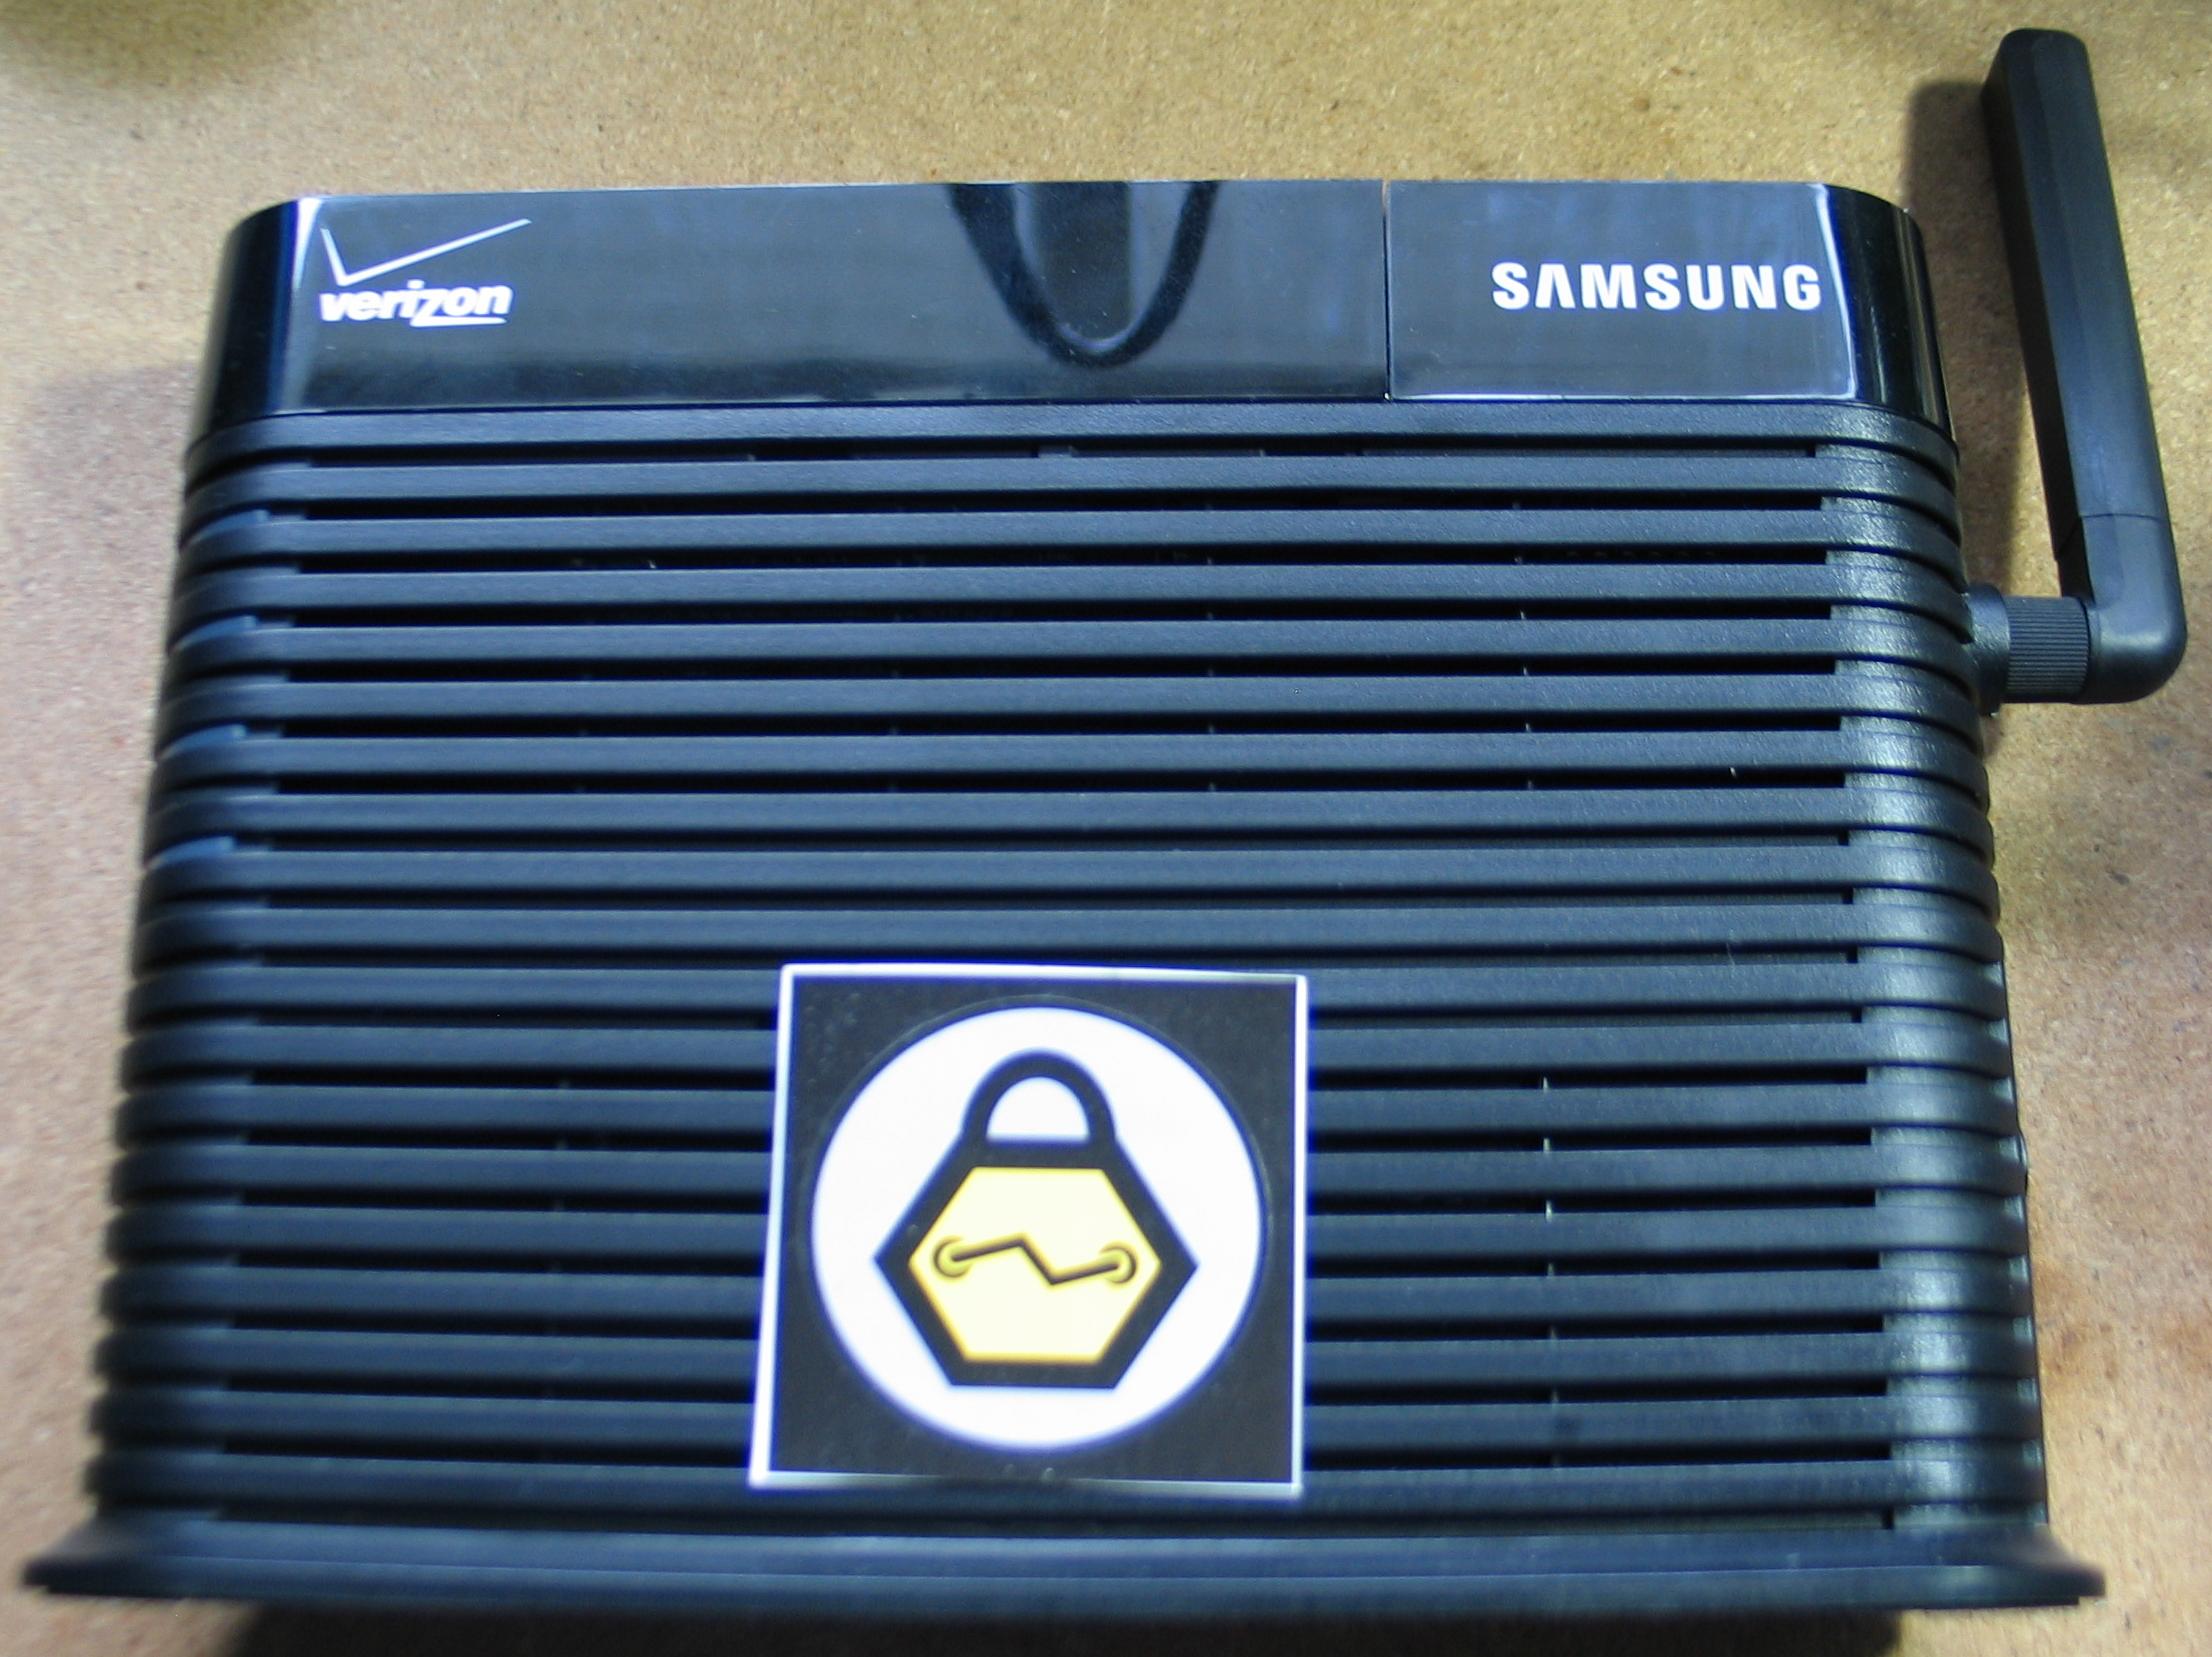
In order to accomplish this we were provided with a pair of Verizon Femtocell devices. We figured that these devices would be based on some type of embedded Linux and, with a little work we would be able to gain access to the operating system as an administrator. Verizon sent the Verizon Wireless Network Extender (Extender) which is really just a Samsung SCS-2U01 (as seen in Figure 0x00). Now, to be clear, our goal was to have a working Extender to conduct our other testing. The Extenders we received from Verizon would be the only devices we would get. Thus, it wasn’t an option to perform destructive testing that could upset the integrity of the devices. We needed the Extenders to connect to the Verizon network and function normally for the testing of our actual assessment targets.
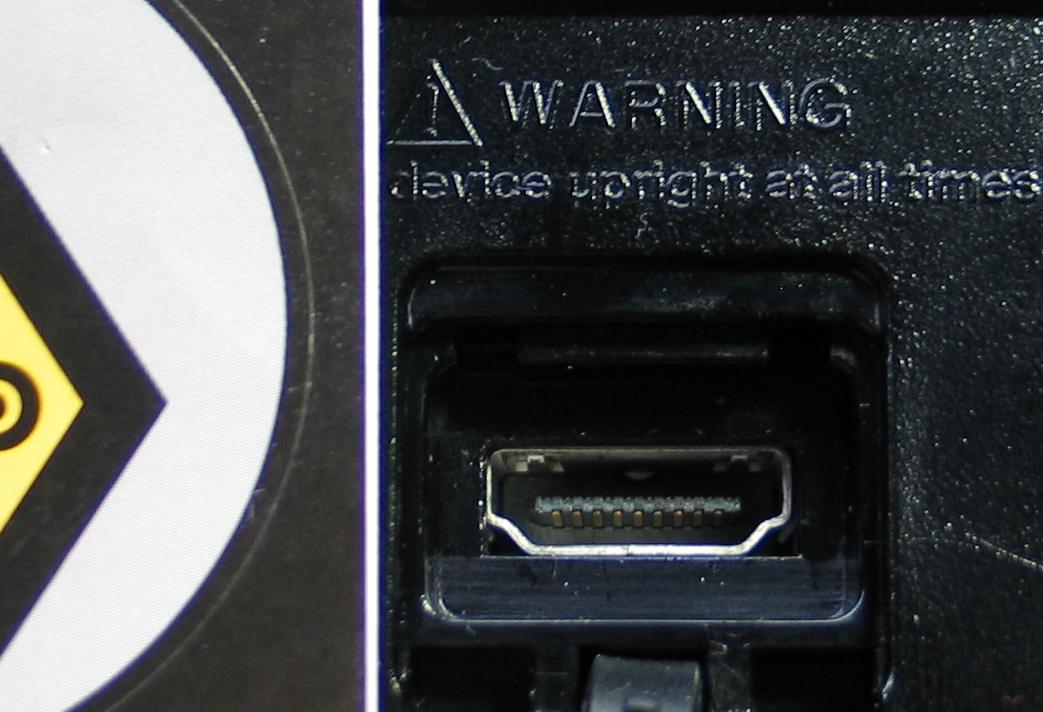
With this in mind we moved forward with determining how to communicate with the Extender. We figured that there must be some method to gain access to the embedded Linux operating system’s serial console. This was supported by a blog post that the Rsaxvc Hackerspace posted titled: “Attaching a Console Cable to the Samsung/Verizon SCS-26UC4”. This article states that the HDMI port (Figure 0x01) on the bottom of the Extender is a serial console port but it does not provide any specifics about which pin-holes are connected to the serial receive and transmit pins. We needed to find these pins ourselves.
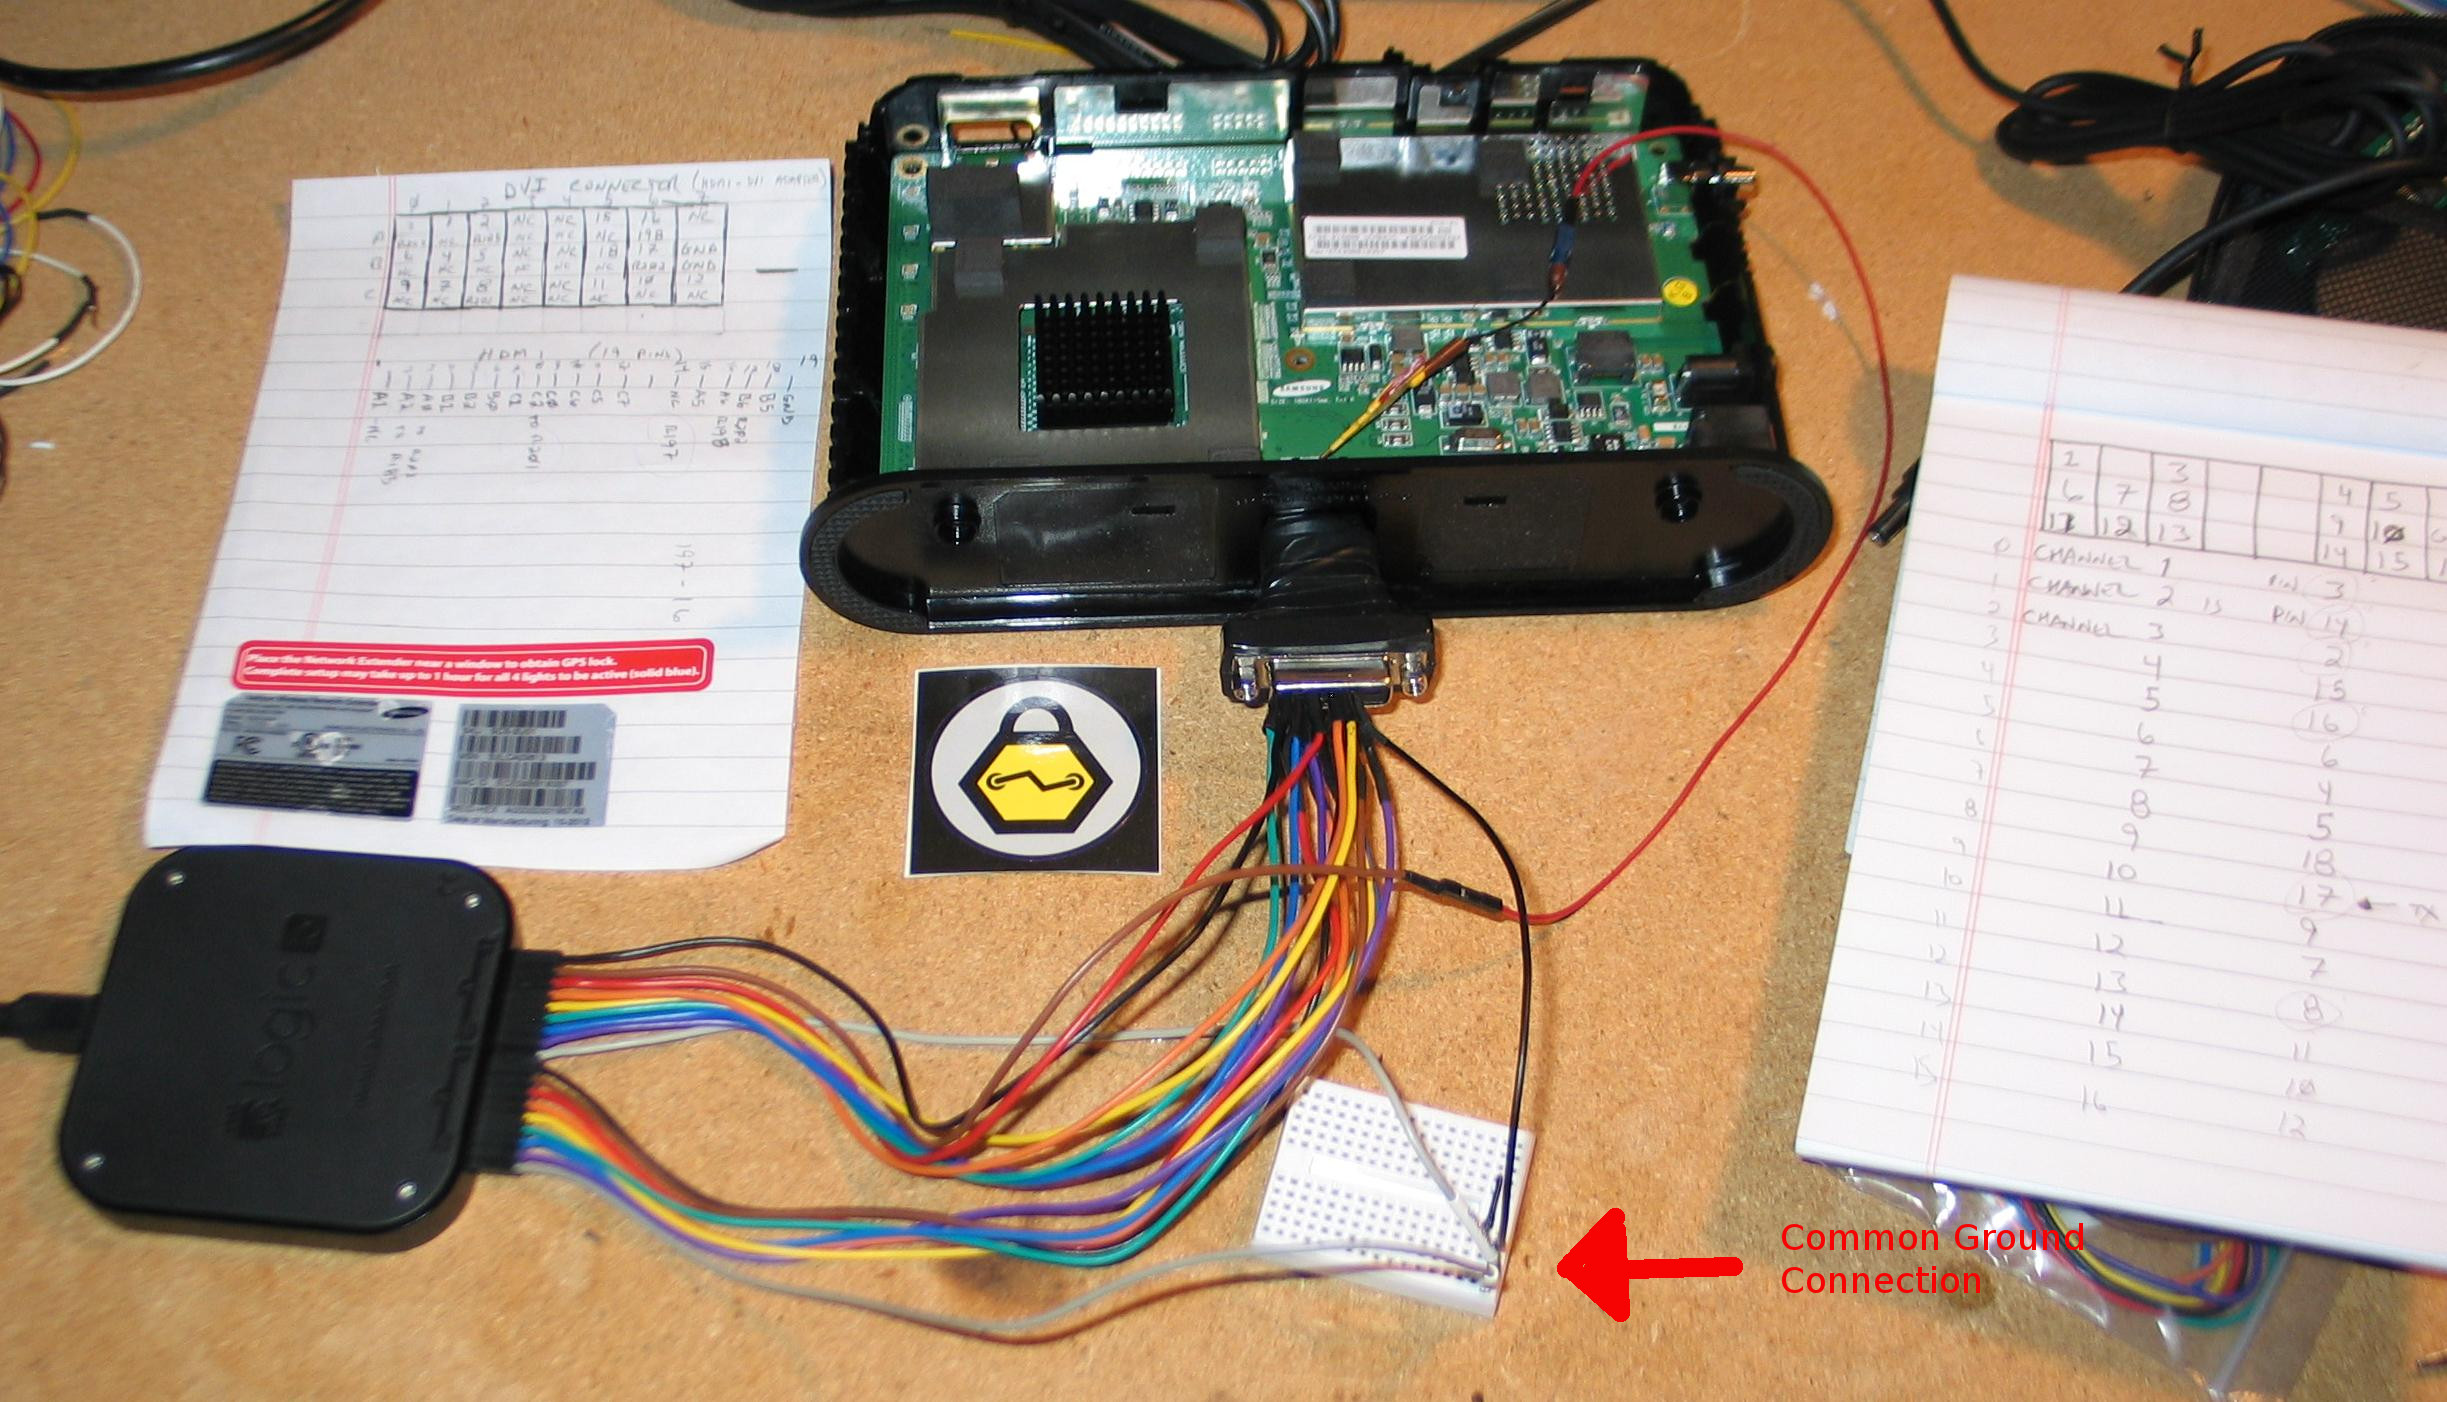
The HDMI connector has twenty-four pin-holes. By using a Saleae Logic 16 we could tap a majority of these pin-holes and boot the Extender as many times as we needed to see if we could find a pin that was leveraging asynchronous serial communications. The important thing to note in this setup is the common ground used for each of the Saleae’s eight pin connectors as noted in Figure 0x02. Saleae handles each eight pin connector separately and there is only one ground pin provided via the Extender’s HDMI port.
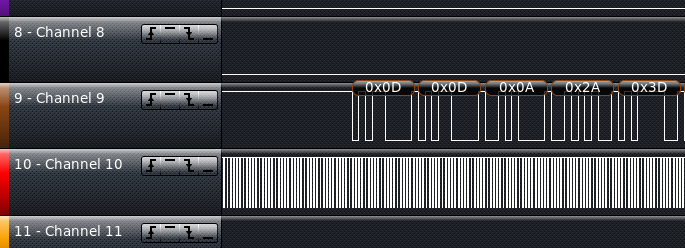
Once the logical analyzer was connected and the software started it was just a matter of turning on the Extender and allowing it to boot. The logical analyzer software captured the states of the pins and displayed them as separate channels. Visually reviewing these channels shows which pins have no activity and which have changes in state that indicate some type of data transfer. Deeper analysis reveals several channels with consistently fluctuating state changes that are indications of some type of clock. The channels that show activity without consistent changes that are the most interesting and most likely to be the asynchronous serial communications that we are looking to find. As shown in Figure 0x03, it is Channel 9 that exhibited this behavior. This image also shows how the Saleae Logic software’s “Async Serial” analyzer was able to interpret actual data on this channel. This data is an indication that Channel 9 is connected the serial console’s transmit pin.
Finding the serial console’s transmit pin will allow us to watch the boot process of the operating system, but it will not provide us with a means to communicate with it. This requires knowing which pin is the serial console’s receive pin. Information about this pin is not easily discernible in the capture from the logic analyzer. We could attempt to send data down each and every pin and monitor for a response from the operating system, but this would require us to boot the Extender over and over until we are successful. By tapping pins in this manner, however, we run the risk of connecting to a pin that is connected to the device’s power supply. Although our laptops may be able to handle 3.3 to 5 volts on any pin of the USB port we want to avoid the possibility of permanently damaging the port by giving it 12 volts. In order to prevent this we took a closer look at the board side of the HDMI port, as shown in Figure 0x04. It was at this point that we realized we did not have to tap all of the pins. Only a few of the pins are connected to traces that lead to VIA’s, resistors, or capacitors (this is mentioned in the Rsaxvc post, but we didn’t find that until afterwards). We decided to start with the pin closest to the transmit pin (mapped to resistor marked R202) to be our first potential receive pin (mapped to resistor marked R198). Using a multimeter we validated that this pin was only supplied with 3.3 volts by touching one lead to the pin and the other lead to ground. 3.3 volts was also an excellent sign that this was a serial pin. Had the voltage been 5 or 12 volts we would have continued testing.
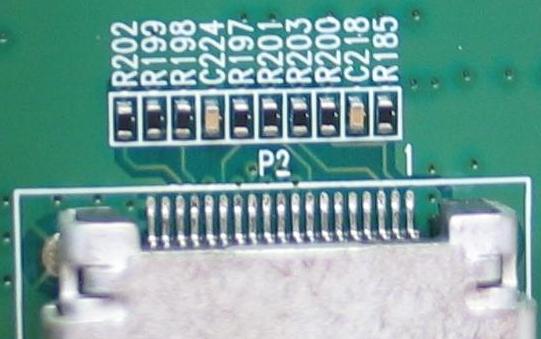
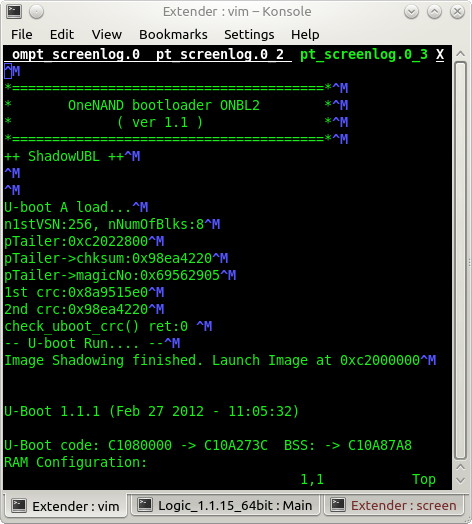
Using an Adafruit USB FTDI TTL-232 cable we connected to these pins and monitored the serial communications using the following screen command: screen /dev/ttyUSB0 115200. We were rewarded with the ability to monitor the operating system’s boot process, as shown in Figure 0x05.
After the boot process completed we confirmed that we had the proper receive pin by hitting the enter key. The operating system received the keystroke and presented us with the authentication prompt local login: as shown in Figure 0x06.
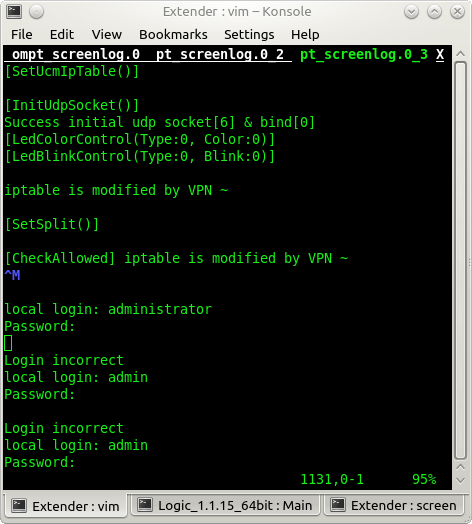
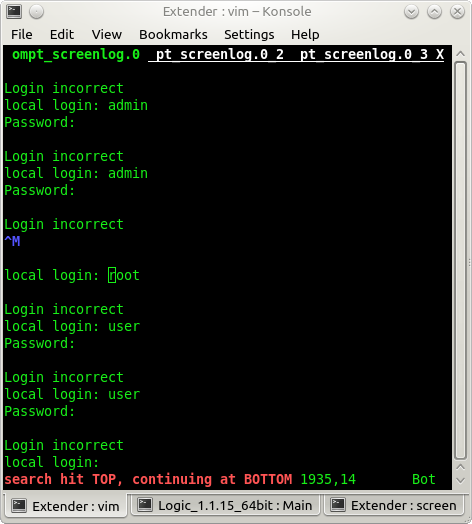
Once we got the login prompt we figured we were successful. We typed “administrator” and the device requested a password. So we typed “admin”. The device presented us with Login incorrect and then local login: again. We attempted several different user names and eventually got around to “root”. As shown in Figure 0x07, this user name immediately resulted in a Login incorrect message instead of a password prompt. Basically, we could attempt to log in as any user except as root.
Now we just needed to determine a good username and, hopefully, a password. We turned back to the Internet and started looking for potential default credentials for the Extender. This search lead us back around to the Rsaxvc Hackerspace blog. It turns out that this group has already done extensive testing on this device. Yes, we were so absorbed with doing this analysis ourselves that we missed their detailed hardware research into this Extender. Reviewing their blog posts it seems that they pulled apart an Extender back in 2010. They appear to have successfully gained access to the operating system by comparing the operating system’s open source code and Samsung’s published modifications of this code. Of particular interest to us was their post about Gaining root on Samsung FemtoCells.
We mimicked these instructions without any success. We also mimicked the process outlined on the Texas Instrument’s Wiki: Change U-Boot bootdelay setting. This wiki entry explains how developers can set the operating system’s “bootdelay” to 0 to prevent users from stopping the boot process and modifying boot parameters. It states that “Cntl+C” can still be used to interrupt the process when the bootdelay is set to 0. We tried using “Cntl+C” to stop the Extender’s boot process but that didn’t work. Combinations of other keys were unsuccessful as well. It appears that Samsung developers have taken the input from the Rsaxvc Hackerspace and used that research to help secure the Extender’s boot process.
Despite not being able to stop the boot process, the serial console still provides a login prompt that should provide access to the operating system. We just need the proper user name and password. Using a little Google Fu and some word list massaging we came up with a list of five user names and 19312 passwords. Next we developed a brute force script to run through these user names and passwords and monitor for a successful authentication. Serial console communications are not the fastest even with a baud rate of 115200. This means that each login attempt takes approximately three seconds. At this rate, cycling through the user name and password lists we generated took over three days to complete. In the end, we did not have access to the Extender via the serial port.
We wanted to write about this process because Samsung did an excellent job. Samsung developed a device and put it on the market. People started purchasing these devices and probing them. Some of those people started publishing their efforts to gain access to these devices. It appears that the Samsung developers monitored for these publications and then used them to modify the product to help prevent unauthorized access and modifications to these devices. To this we say Bravo.
Of course our analysis of this Extender was not complete, as it did not include any evaluation of the memory components or the microcontrollers. Analysis of these components could lead to information that will enable people to gain access to the operating system. But, the Extender’s development team did address the basic access weaknesses of the boot process and serial console that could enable users to gain control of the Extender.
We also noted that Samsung has made additional updates to the Extender since we used the brute force script to attempt to authenticate to the Extender’s serial console. The latest bootloader U-Boot 1.1.1 (Jan 21 2013 – 10:32:24) seems to have been updated about one month (see the bootloader compile date in Figure 0x05) after we ran our brute force script. The serial console no longer provides a password prompt nor does it seem to interact with any serial input. The boot process also does not display the operating system’s boot messages (output similar to the results of the dmesg command on any Linux system) as it did in the past. Thus limiting the Extenders configuration details that are revealed to people monitoring the serial console’s transmit pin.
This update means either the Extender’s development team already had plans to modify the operating system and remove the serial console prompt, or that they are working closely with Verizon and monitoring Extender authentication logs. Either way, it seems that there is an embedded hardware team out there that is working hard to maintain control over their devices by keeping up-to-date on the methods that are being used to gain unauthorized access to them. Of course, as we are not communicating with this team, the reasons for these modifications are merely our speculations. But we like what we are seeing. We can only hope that other hardware development teams operate in a similar manner when considering the security of their devices after they have been released. We hope the Extender’s development team will someday release a white paper or give a talk about the hacking attempts they have seen and how they responded to them as a part of their embedded device and software development process.
We are very excited about Tom and Doug’s talk. It will be interesting to see their findings and how they leveraged it during their assessments.
NOTE: Before posting, we contacted Verizon to let them know about this information. Our contact within Verizon was very excited that we contacted them before release and made an introduction to the Verizon department that manages these devices. After multiple attempts to contact someone in this department, we have received no response to date.
Go forth and do good things.
